


Twice-daily moisturizing — cleanse, moisturize, and SPF in the AM; remove, treat, and a richer moisturizer in the PM — is the simplest evidence-backed routine to protect and repair your skin barrier. The American Academy of Dermatology recommends moisturizing at least twice daily to support barrier function, and the Cleveland Clinic frames it as an AM “Protect” and PM “Repair” approach. You only need three products to start.
Your quick-start checklist:
- Gentle cleanser — low-pH, non-stripping formula
- Moisturizer — matched to your skin type (gel for oily, cream for dry, fragrance-free for sensitive)
- Broad-spectrum SPF 30+ — every morning, no exceptions
Use only these three for 2–4 weeks before adding anything else. That window stabilizes your barrier and gives you a clean baseline to judge any product you introduce later.
Table of Contents
- What should your first 2–4 weeks of moisturizing look like?
- How do you follow the AM “Protect” and PM “Repair” steps?
- How do you pick the right moisturizer for your skin type?
- How should you apply moisturizer to get the most hydration?
- When and how should you add active treatments?
- How long does it take to see real results?
- What mistakes should you avoid, and when should you see a dermatologist?
- Key Takeaways
- The habit that makes every routine actually work
- Lunarashopping makes your starter routine easier to build
- Sources and further reading
What should your first 2–4 weeks of moisturizing look like?
The baseline reset is the most underused strategy in skincare. Strip your routine down to a gentle cleanser, a moisturizer suited to your skin type, and SPF — nothing more. This isn’t minimalism for its own sake. It gives your barrier time to stabilize so that when you later add a vitamin C serum or a retinoid, you’ll know exactly what caused any reaction.
For oily or acne-prone skin, start with a gel or oil-free gel-cream moisturizer. Dry skin responds better to a cream formula. If your skin is sensitive, look for fragrance-free, minimal-ingredient options. Sticking to three essentials reduces product churn and makes later introductions far easier to diagnose.
Track these three signals each morning during your baseline reset: tightness after cleansing, visible flakiness, and redness. If all three improve or stay neutral within two weeks, your barrier is responding well and you’re ready to consider adding a hydrating serum.
Pro Tip: Write down your skin’s condition on day one — even a quick phone note. Two weeks later, you’ll have a real reference point instead of a vague impression.
How do you follow the AM “Protect” and PM “Repair” steps?
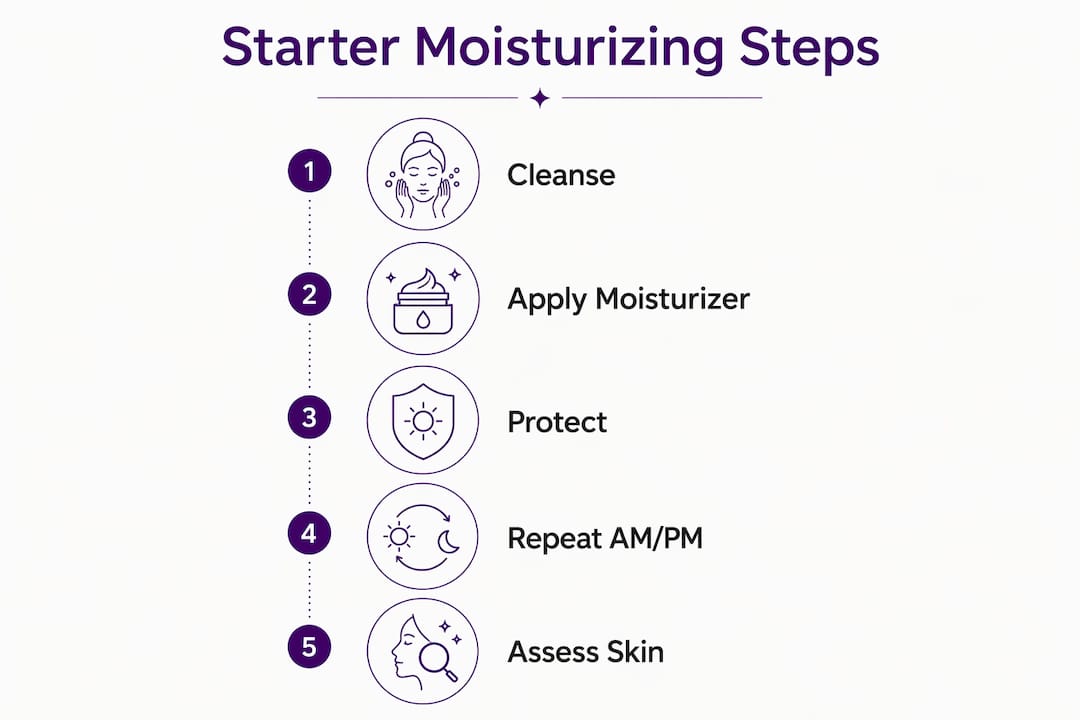
The AAD’s daily routine framework organizes your steps around one principle: protect in the morning, repair at night. Here’s how that plays out in practice.
AM routine (Protect)
- Gentle cleanse — or a plain water rinse if your skin feels calm and balanced.
- Hydrating layer — a toner or essence if you use one (optional at the baseline stage).
- Moisturizer — applied to slightly damp skin.
- Broad-spectrum SPF 30+ — always the final step before going outside.
PM routine (Repair)
- First cleanse — a micellar water or cleansing balm to remove sunscreen and makeup.
- Second cleanse — a gentle, low-pH cleanser to clear residue. Skip the first cleanse if you wore no sunscreen or makeup.
- Treatment or serum — optional at the baseline stage; introduce only after the reset period.
- Richer moisturizer — a cream or balm to support overnight repair.
A few layering rules matter here. Always apply products from thinnest to thickest: water-based humectants first, then emollients, then occlusives. Reversing that order traps a heavy seal that prevents lighter serums from penetrating. Double-cleansing is worth doing whenever you’ve worn sunscreen, makeup, or spent time in a polluted environment. For a calm, bare-faced day, a single gentle cleanse in the evening is sufficient.
How do you pick the right moisturizer for your skin type?
A well-built moisturizer does three jobs: it draws water in, smooths the surface, and seals hydration in place. Glycerin and hyaluronic acid are humectants that attract water. Squalane and fatty acids are emollients that soften and smooth. Petrolatum and dimethicone are occlusives that lock everything in. You want all three functions represented in your moisturizer, especially if your barrier is compromised.
Texture is where skin type guides your choice. The AAD notes that oily or acne-prone skin does best with lightweight, gel-based, or oil-free formulas, while dry or mature skin needs richer creams with ceramides, glycerin, or hyaluronic acid. Skipping moisturizer on oily skin can actually worsen oil production as your skin compensates for perceived dryness.
| Skin type | Recommended texture | Key ingredients | Life-stage note |
|---|---|---|---|
| Oily / acne-prone | Gel or oil-free lotion | Glycerin, niacinamide | Teens: non-comedogenic only |
| Combination | Lightweight gel-cream | Hyaluronic acid, ceramides | Adults: lighter in T-zone |
| Dry | Rich cream or balm | Ceramides, glycerin, fatty acids | Mature skin: add peptides |
| Sensitive | Fragrance-free cream | Ceramides, colloidal oatmeal | All ages: minimal ingredient list |
| Mature / aging | Cream with occlusives | Peptides, hyaluronic acid, squalane | 40s+: add retinoid at night |
For a deeper look at formula differences, Lunarashopping’s guide to types of facial moisturizers breaks down textures by skin concern.
How should you apply moisturizer to get the most hydration?
Timing is the single most impactful application variable. Apply your moisturizer within about 60 seconds of cleansing, onto skin that is still slightly damp. According to dermatologists at Glamour, this timing improves absorption and helps the moisturizer form an effective barrier against transepidermal water loss (TEWL).
Here’s the full application sequence:
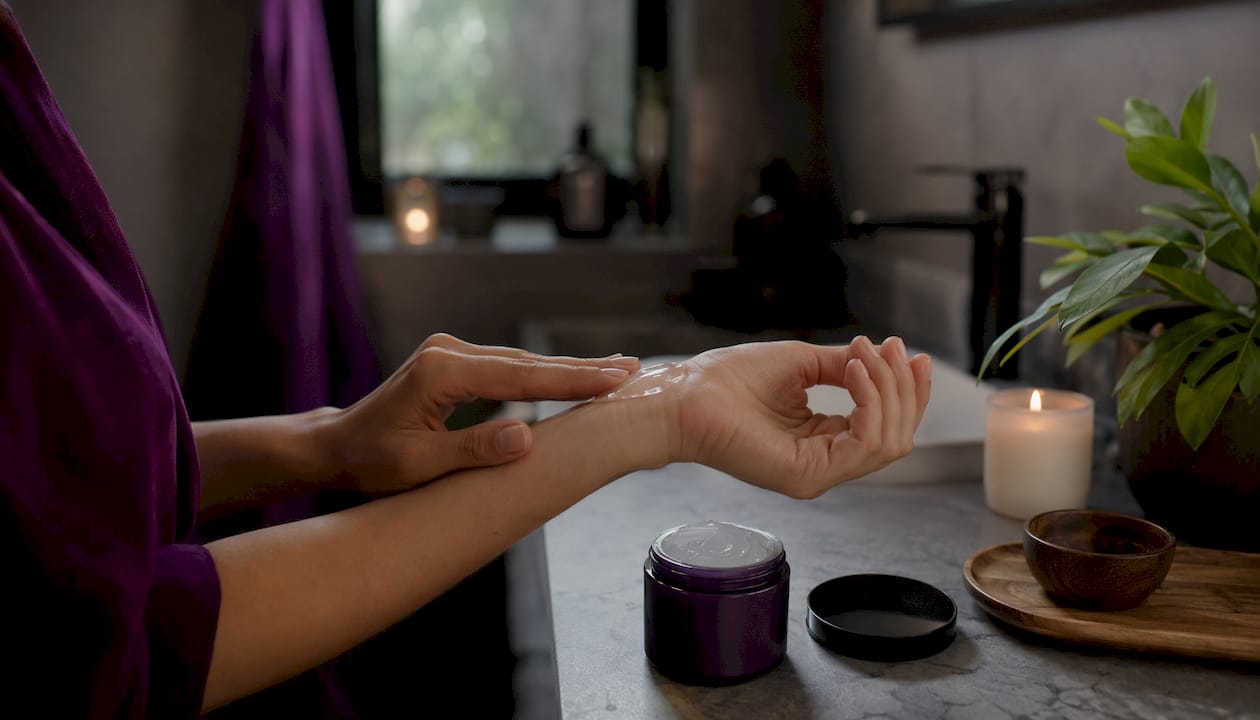
- Pat skin gently with a clean towel — leave it slightly damp, not dripping.
- Dispense a pea- to dime-size amount depending on your moisturizer’s thickness.
- Warm it briefly between your fingertips, then press and sweep outward across your cheeks, forehead, and chin.
- Extend down to your neck and décolleté — these areas lose moisture just as quickly.
- For the under-eye area, use your ring finger and tap gently rather than rubbing.
- If any area feels particularly dry, finish with a thin layer of an occlusive like petrolatum over that spot only.
Pro Tip: If you’re introducing a retinoid, use the sandwich method: apply moisturizer first, then the retinoid, then a second thin layer of moisturizer on top. The sandwich method buffers irritation while preserving efficacy — especially useful in the first few weeks of use.
When and how should you add active treatments?
Introduce one active at a time and give it 2–4 weeks before adding another. A phased build plan reduces irritation risk and gives you measurable checkpoints. Here’s a practical checklist for each new active you consider:
- Patch test first — apply a small amount to your inner forearm for 24–48 hours before using it on your face.
- Start at low frequency — two to three nights per week for retinoids; every other morning for vitamin C.
- Keep your baseline products unchanged — don’t swap your cleanser or moisturizer at the same time you introduce an active.
- Use the sandwich method for retinoids — moisturizer before and after to buffer dryness.
- Avoid pairing two strong actives on the same night — for example, retinoids and exfoliating acids together increase irritation risk significantly.
- Stop and reassess if you experience persistent redness, stinging, or peeling beyond mild flaking.
Vitamin C works well in the AM routine, where it supports SPF’s protective effect. Retinoids belong in the PM routine. Keep SPF unchanged throughout any active introduction period.
How long does it take to see real results?
Barrier function often begins to improve within 2–4 weeks of consistent twice-daily moisturizing. Visible changes — smoother texture, more even tone, reduced dryness — typically take 4–8 weeks or longer, depending on which actives you’ve added and how compromised your barrier was at the start.
| Routine stage | Timeline | What to expect |
|---|---|---|
| Baseline reset (3 products) | Weeks 1–2 | Reduced tightness, less flakiness, calmer redness |
| Add hydrating serum | Weeks 3–4 | Improved plumpness, more consistent hydration |
| Introduce first active | Weeks 5–8 | Early texture refinement or pigmentation shift |
| Add second active | Weeks 9–12 | Cumulative improvement in tone and firmness |
Cost-wise, a basic 3-product starter routine in the US typically runs $20–$40 for a budget-friendly set, $45–$80 for mid-range options with ceramide-rich formulas, and $90 or more for premium Korean skincare brands. Patience matters more than price point. Resist switching products before the 2–4 week mark — your skin needs time to respond, and early changes can look like a setback before they look like progress.
What mistakes should you avoid, and when should you see a dermatologist?
Common mistakes that undermine your routine:
- Skipping SPF on cloudy days or when staying indoors near windows
- Over-exfoliating, which strips the lipid barrier and worsens sensitivity
- Using hot water or high-pH bar soaps, which increase barrier damage and irritation
- Applying a rich cream before a serum, which blocks penetration
- Assuming oily skin doesn’t need moisturizer
Seasonal adjustments to make:
- Winter: switch to a heavier cream or add a thin occlusive layer over your usual moisturizer to counter indoor heating and cold air.
- Summer: a lightweight gel-cream or lotion is usually enough; reapply SPF every two hours outdoors.
- Teens benefit from non-comedogenic, oil-free formulas and a simple two-step PM routine, supported by age-appropriate guidance like the practice period self-care routine for pre-teen girls. Aging skin needs richer textures and benefits from adding peptides or a retinoid once the baseline is stable.
For a detailed night skincare routine checklist, Lunarashopping’s PM guide covers each step in full. If you experience persistent redness, blistering, a spreading rash, or any sign of infection after starting a new product, stop using it immediately and consult a board-certified dermatologist.
Key Takeaways
A consistent AM “Protect” and PM “Repair” routine, built on three essentials and introduced in phases, is the most reliable path to a stronger, better-hydrated skin barrier.
| Point | Details |
|---|---|
| Start with 3 products | Use only a gentle cleanser, a skin-type-matched moisturizer, and SPF 30+ for the first 2–4 weeks. |
| Apply to damp skin | Moisturize within 60 seconds of cleansing to reduce transepidermal water loss and improve absorption. |
| Layer thinnest to thickest | Apply humectants first, then emollients, then occlusives for effective barrier repair. |
| Introduce actives one at a time | Wait 2–4 weeks between each new active; patch test and keep baseline products unchanged. |
| Lunarashopping starter kits | Lunarashopping’s curated morning sets and Custom Kit Builder align directly with the 3-product baseline reset. |
The habit that makes every routine actually work
The biggest gap in most skincare advice is the space between knowing what to do and actually doing it consistently. Start as simply as possible. Three products on your sink every morning beats a ten-step routine you abandon by week two. SPF is the one step that is genuinely non-negotiable — not because it’s trendy, but because daily sun exposure is cumulative and largely invisible until the damage is done.
Keep your three essentials visible. Leave them on the counter, not in a drawer. That single environmental cue does more for adherence than any reminder app. Celebrate the small wins: two weeks of consistent moisturizing is a real achievement for your barrier, even if your skin doesn’t look dramatically different yet.
For broader habit-building guidance, Lunarashopping’s self-care skincare best practices resource covers the behavioral side of routine-building in practical detail. Building a routine that lasts is less about finding the perfect product and more about making the routine frictionless enough to repeat every day.
Lunarashopping makes your starter routine easier to build
If you’d rather skip the product-hunting and start with a set that’s already matched to the 3-product baseline, Lunarashopping’s Morning Face Care Routine Set brings together a gentle cleanser, a hydrating moisturizer, and SPF-ready options from trusted Korean skincare brands like COSRX, Beauty of Joseon, and ANUA. Every product in the set is chosen for barrier compatibility and daily use.
For a more personalized approach, the Custom Skincare Kit Builder lets you select products by skin type and concern, so your starter kit reflects your actual skin, not a generic template. This is Lunarashopping’s own offering, and it’s designed specifically for readers who want a convenient, curated path into a consistent daily routine. Once your 2-week baseline is stable, use the Kit Builder to add a hydrating serum or your first active with confidence.
Sources and further reading
Clinical guidance:
- American Academy of Dermatology — Basic Skin Care
- Cleveland Clinic — Skin Care Routine Step-by-Step
- Dr. Danny Guo, MD — Evidence-Based Skincare Routine
- Brown University Health — Essentials of a Daily Skincare Routine
How-to explainers:
- Glamour — How to Apply Moisturizer the Right Way
- DermApproved — The Dry Skin Routine That Goes Beyond Just More Moisturizer
- Dermalytics — Dermatologist-Approved Routine and 12-Week Build Plan
- SknCoach — How to Build a Skincare Routine from Scratch
Lunarashopping resources:
- How to Layer Skincare Products Correctly
- Types of Facial Moisturizers
- Custom Skincare Kit Builder


