


Mochi skin is a J-Beauty ideal for skin that feels soft, plump, and bouncy with a semi-matte, inner luminosity — named after the smooth, pillowy texture of Japanese mochi rice cakes — and it’s achieved through layered hydration and barrier-first care rather than surface shine. According to dermatologists at Allure, the core daily approach is straightforward: double cleanse, layer lightweight hydrating essences and a humectant serum, then seal with a lightweight moisturizer and broad-spectrum SPF in the morning.
The three traits you’re aiming for:
- Softness: skin that feels smooth and supple to the touch, not tight or rough
- Plumpness: a bouncy, resilient texture that springs back when pressed
- Matte luminosity: a natural, shine-free glow from within, not an oily or reflective finish
Key Takeaways
Mochi skin is a barrier-first, hydration-led J-Beauty ideal that produces soft, plump, matte-luminous skin through consistent layered care rather than surface-level products.
| Point | Details |
|---|---|
| What mochi skin is | Soft, bouncy, semi-matte skin inspired by Japanese mochi rice cakes; a health-first texture goal. |
| Core routine actions | Double cleanse, layer lightweight essences and humectant serums, seal with moisturizer and SPF. |
| Key ingredients | Hyaluronic acid, peptides, ceramides, niacinamide, rice extract, glycerin, squalane, and SPF. |
| Realistic timeline | Visible texture improvement typically appears within several weeks of consistent hydration-focused care. |
| Lunarashopping | Curated Korean beauty kits and individual products matched to the mochi skin routine are available at Lunarashopping. |
Table of Contents
- What mochi skin actually looks and feels like
- Mochi skin vs. glass skin: the practical difference
- Your step-by-step AM and PM mochi skin routine
- Key ingredients that build the mochi effect
- How long it takes and what stops your progress
- Professional treatments that can accelerate your results
- What dermatologists and J-Beauty experts say about mochi skin
- Why mochi skin is a healthy aesthetic worth pursuing
- Curated mochi skin starter sets from Lunarashopping
- Sources
What mochi skin actually looks and feels like
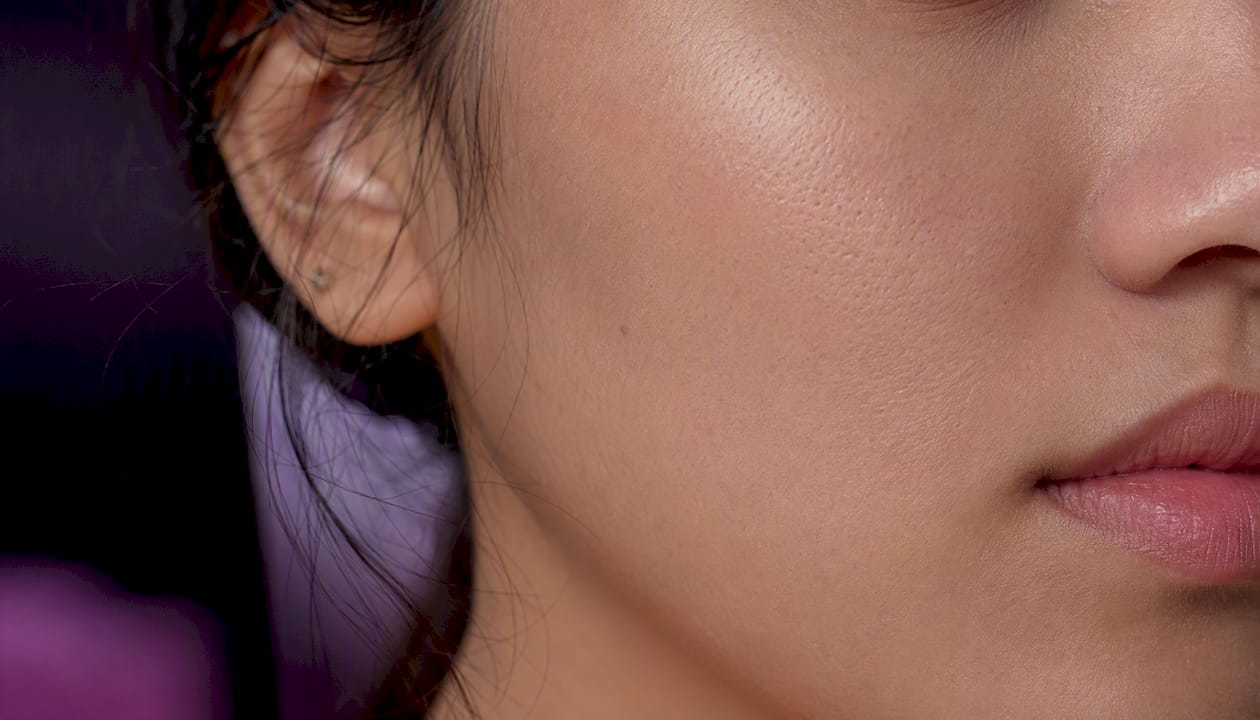
The visual cue most people notice first is the finish. Mochi skin carries a semi-matte, inner luminosity — light seems to come from beneath the surface rather than reflecting off it. Pores appear refined and minimized, and the overall texture reads as smooth and even without looking flat or powdered.
The tactile experience is equally specific. Press gently on healthy mochi skin and it springs back, a quality dermatologists associate with adequate collagen density and deep hydration. Industry literature from Rahn Group describes the ideal as soft, plump, poreless, and free of lines or dryness — a tactile and visual goal, not a makeup effect.
Use this quick self-assessment to gauge where your skin stands:
- Does your skin feel smooth and supple within 30 minutes of cleansing, without applying anything?
- Does it look naturally even-toned in natural light, without visible dry patches or oily zones?
- Does it spring back quickly when you gently pinch the cheek area?
- Are your pores visually minimized rather than enlarged or congested?
If most answers are no, your barrier and hydration levels are the first things to address.
Mochi skin vs. glass skin: the practical difference
The single clearest distinction: glass skin is about reflective, high-shine dewiness, while mochi skin targets a soft, matte inner luminosity. Both are hydration-driven, but the finish and the product strategy diverge significantly.
| Feature | Mochi skin | Glass skin |
|---|---|---|
| Finish | Semi-matte, inner luminosity | High-shine, reflective dewiness |
| Texture goal | Soft, bouncy, pillowy | Smooth, translucent, poreless |
| Product layering | Lightweight humectants, barrier-repair actives | Occlusive oils, hydrating serums, dewy finishes |
| Common mistake | Over-exfoliating, skipping barrier repair | Heavy oil layering that traps sebum |
The practical implication: if you’ve been chasing glass skin, some of those habits actively work against mochi skin. Heavy facial oils layered on top of serums can create a greasy finish that mimics shine without the underlying bounce. Highlighting products and dewy setting sprays add surface reflection but do nothing for the plump, resilient texture that defines mochi skin.
Pro Tip: Skip the facial oil as a final step if mochi skin is your goal. Instead, finish with a lightweight, water-based moisturizer that locks in your humectant layers without adding surface shine. Reserve oils for targeted dry-patch treatment only.
Your step-by-step AM and PM mochi skin routine
The routine structure matters as much as the individual products. Layering lightweight hydrating products in the right sequence allows each layer to absorb fully, building cumulative plumpness rather than sitting on the surface.
AM routine
- Gentle water-based cleanser — A mild, low-pH cleanser removes overnight sebum without stripping your barrier. For guidance on selecting the right formula, the role of a face cleanser matters more than most people realize.
- Hydrating toner or essence (biyoueki) — Apply a lightweight hydrating toner while skin is still slightly damp. Pat it in with your palms rather than rubbing; this reduces friction and encourages absorption.
- Hyaluronic acid or peptide serum — Layer a humectant serum next. Press it gently into skin using fingertips.
- Lightweight moisturizer — Seal the hydration layers with a gel-cream or water-cream formula. Avoid heavy occlusives in the AM. The case for moisturizer is straightforward: it keeps everything you just layered from evaporating.
- Broad-spectrum SPF 30 or higher — Non-negotiable. UV damage degrades collagen and disrupts the barrier, both of which directly undermine the plump, bouncy texture you’re building.
PM routine
- Oil-based cleanser or balm — Dissolves SPF, makeup, and sebum without stripping. This is the first step of double cleansing.
- Water-based cleanser — Follow immediately with a gentle, low-pH cleanser to clear any residue.
- Hydrating essence or toner — Same layering logic as AM. Two to three pats of a lightweight essence build meaningful hydration over time.
- Targeted serum — Peptide ampoules or niacinamide serums work well here. PM is also the right time for any gentle chemical exfoliant (no more than two to three times per week).
- Moisturizer — A slightly richer formula than your AM pick is fine at night, but still avoid heavy occlusive creams unless your barrier is actively compromised.
For a full night routine checklist, the 9-step night skincare routine covers the sequence in detail.
Frequency guidance:
- Hydrating sheet masks: two to three times per week
- Gentle chemical exfoliation (AHA or enzyme): two to three times per week, PM only
- Physical exfoliants: avoid entirely or limit to once per week with a very gentle formula
Pro Tip: Pat and press your toner and essence into skin rather than wiping or rubbing. Dermatologists confirm that this technique improves absorption of humectant-rich products and can gently stimulate circulation to support that plump, bouncy finish.
Key ingredients that build the mochi effect
Each ingredient category below serves a specific function in the mochi skin stack. Understanding the mechanism helps you read labels and choose products that actually deliver.
- Hyaluronic acid: A humectant that draws water into the skin from the environment and deeper layers. Works best in multiple molecular weights — low-weight HA penetrates deeper, high-weight HA sits at the surface to reduce transepidermal water loss.
- Peptides: Short amino acid chains that signal skin to produce collagen and elastin, directly supporting the bounce-back quality mochi skin requires. Peptide ampoules are a staple in J-Beauty routines for this reason.
- Ceramides: Lipid molecules that reinforce the skin barrier, reducing moisture loss and protecting against environmental irritants. Barrier integrity is the foundation of the mochi texture.
- Niacinamide: A form of vitamin B3 that improves skin tone, minimizes pore appearance, and regulates sebum production. It also supports ceramide synthesis, making it a natural pairing with barrier-repair products.
- Rice extract: A traditional J-Beauty ingredient with soothing and brightening properties. Rice bran and fermented rice water appear frequently in mochi skin formulations, reflecting the cultural roots of the trend.
- Glycerin: One of the most effective and well-studied humectants. Draws moisture into the skin and helps other actives penetrate more evenly.
- Squalane: A lightweight, skin-identical emollient that softens without greasiness. Suitable for oily and combination skin types that need barrier support without a heavy feel.
- Broad-spectrum SPF: Not optional. UV exposure breaks down collagen and disrupts the barrier, reversing the plumpness and texture improvements you’re building with every other step.
According to Jbeauty Skincare, hyaluronic acid, peptides, ceramides, and rice-derived extracts are the most consistently recommended categories across expert mochi skin routines.
Ingredient pairing guidance
| Ingredient | Pairs well with | Avoid layering with |
|---|---|---|
| Hyaluronic acid | Glycerin, niacinamide, peptides | High-concentration vitamin C (can compete for absorption) |
| Ceramides | Niacinamide, squalane, peptides | Strong acids at the same step (apply acids first, ceramides after) |
| Niacinamide | Hyaluronic acid, ceramides, SPF | High-dose vitamin C in the same step (can cause flushing in some) |
| Peptides | Hyaluronic acid, ceramides, niacinamide | Exfoliating acids at the same step |
| Rice extract | Most actives | No major conflicts; generally well-tolerated |
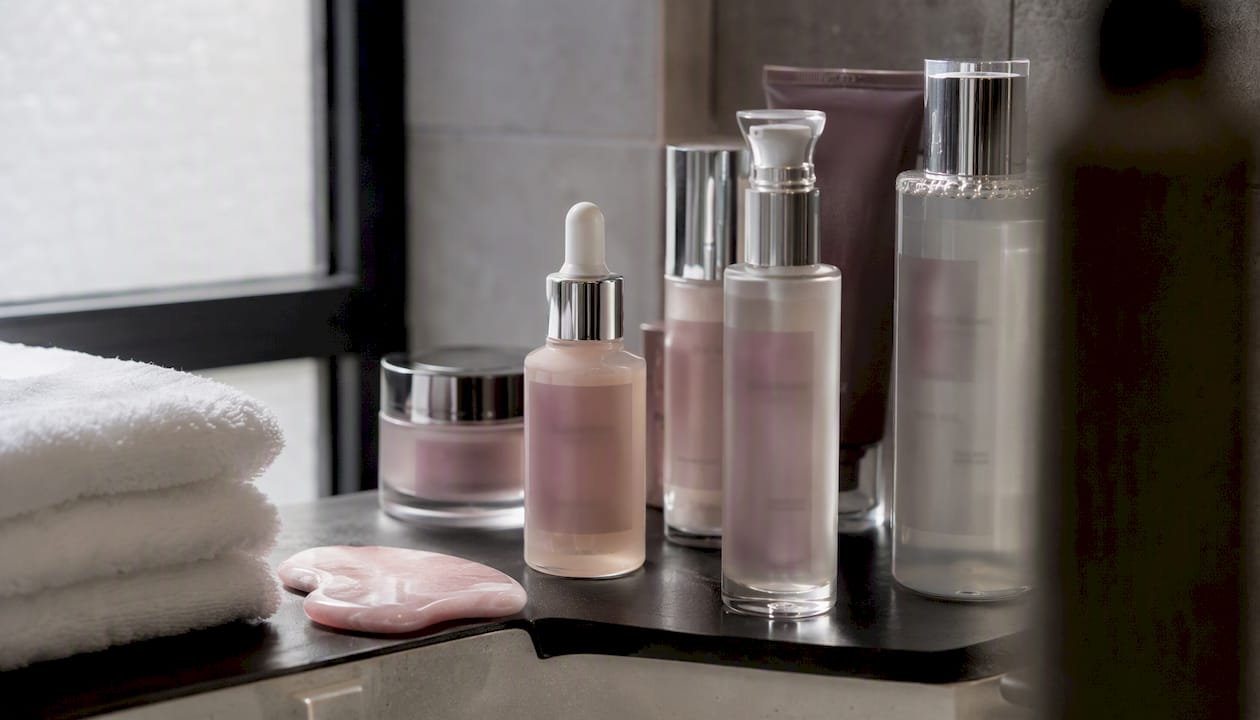
For oily or combination skin, prioritize gel-based or water-gel moisturizers and lightweight essence textures. Dry skin benefits from slightly richer cream formulas in the PM step, but the layering sequence stays the same. Understanding why Korean brands emphasize hydration helps explain why this layered, lightweight approach outperforms a single heavy cream for most skin types.
How long it takes and what stops your progress
Visible texture improvement takes time. Dermatologists report that consistent hydration-focused routines typically produce noticeable changes in skin texture and bounce within 4–6 weeks. Collagen remodeling from peptide use takes longer, often 8–12 weeks of daily application before structural changes become apparent.
Timeline callout: Most people see a meaningful improvement in skin softness and surface smoothness within 4–6 weeks of a consistent, hydration-first routine. Barrier repair often shows faster, within two to three weeks, if you stop the habits that are damaging it.
The most common reasons progress stalls:
- Over-exfoliation: Using physical scrubs or high-strength acids too frequently strips the barrier, causing redness, sensitivity, and a rough, uneven texture — the opposite of mochi skin. Gentle chemical exfoliation (low-concentration AHAs or enzyme exfoliants) two to three times per week is the upper limit most dermatologists recommend.
- Skipping barrier repair: Ceramide and fatty acid-rich products are not optional extras. Without them, humectants like hyaluronic acid pull moisture to the surface and then lose it to the environment.
- Heavy occlusive layering: Thick creams and oils can trap sebum, leading to congestion and breakouts. Lightweight layering consistently outperforms one heavy product.
- Inconsistent SPF use: A single unprotected day in strong UV conditions can set back collagen health measurably. Daily SPF is the most cost-effective anti-aging and texture-preservation step in any routine.
- Expecting overnight results: Skin cell turnover takes roughly 28 days in younger adults and longer as you age. Realistic expectations keep you consistent.
When to see a dermatologist: If you experience persistent texture loss, repeated barrier damage that doesn’t resolve within two to three weeks of gentle care, or signs of active skin disease (rosacea flares, eczema, cystic acne), a board-certified dermatologist can assess whether a prescription-level intervention is appropriate before you continue layering actives.
Professional treatments that can accelerate your results
Topical care builds the foundation, but certain in-office procedures can deliver hydration or structural support at a depth that serums alone cannot reach.
- Micro-needling with hyaluronic acid delivery: Fine needles create microchannels in the skin while simultaneously infusing hydrating agents below the epidermis. The result is deeper, longer-lasting plumpness than surface application provides. Expect mild redness for one to three days post-treatment.
- Hydrating injectables (skin boosters): Injectable hyaluronic acid placed superficially in the dermis improves skin quality, elasticity, and moisture retention over several months. These are distinct from volumizing fillers and are specifically designed for texture and glow improvement.
- Superficial chemical peels: Low-strength lactic acid or mandelic acid peels performed by a licensed professional improve surface texture and tone without the barrier disruption of aggressive resurfacing. Recovery is typically minimal, with mild flaking for two to four days.
- LED light therapy: Red and near-infrared wavelengths support collagen synthesis and reduce inflammation. Often used as a complement to other treatments rather than a standalone procedure.
These options are accelerators, not substitutes. A consistent topical routine is still the daily driver of mochi skin results. Professional treatments are worth considering when topical care has plateaued or when structural concerns like elasticity loss require a deeper approach.
What dermatologists and J-Beauty experts say about mochi skin
The expert consensus on mochi skin is consistent: hydration first, barrier protection always, and gentle exfoliation only when necessary.
Dermatologists consistently flag physical scrubs as a risk for mochi skin goals. Micro-tears from abrasive particles disrupt the barrier, cause low-grade inflammation, and ultimately lead to the rough, uneven texture you’re trying to eliminate. Gentle chemical exfoliants — low-concentration lactic acid, mandelic acid, or enzyme-based formulas — achieve the same cell turnover benefit without the mechanical damage.
Key principles the expert community agrees on:
- Layer lightweight hydrators in sequence rather than applying one heavy product
- Choose products with ceramides and fatty acids to actively repair and maintain the barrier
- Limit active exfoliants to two to three times per week at most
- Apply SPF daily, regardless of weather or indoor/outdoor plans
- Pat and press products in rather than rubbing, to maximize absorption and minimize irritation
The role of toning in this routine is often underestimated. A well-formulated hydrating toner or essence applied immediately after cleansing sets the hydration baseline that every subsequent layer builds on.
Pro Tip: When selecting products for a mochi skin routine, prioritize formulas that list ceramides, hyaluronic acid, or peptides in the first five ingredients. Concentration matters — an ingredient buried at the bottom of a long list is unlikely to deliver a meaningful effect.
Why mochi skin is a healthy aesthetic worth pursuing
Mochi skin appeals to us at Lunarashopping precisely because it’s grounded in skin health rather than surface illusion. The goal isn’t a filtered look or a makeup effect — it’s skin that is genuinely well-hydrated, barrier-intact, and structurally resilient. That aligns directly with the Korean beauty philosophy behind the brands we carry: products formulated to improve actual skin condition over time, not just appearance in the moment. A minimalist, barrier-first kit built around a hydrating essence, a peptide serum, and a lightweight moisturizer is often all it takes to start seeing real change. That’s a realistic, sustainable approach we’re confident recommending.
Curated mochi skin starter sets from Lunarashopping
Getting the routine right starts with having the right products in the right sequence. Lunarashopping’s Morning Face Care Routine Set is built for exactly this: a curated AM kit with hydration-led formulas from trusted Korean beauty brands, designed to layer cleanly and deliver the plump, matte-luminous finish mochi skin requires.
If you prefer to build your own stack, the full face care collection includes individual cleansers, essences, serums, and moisturizers from brands like COSRX, INNISFREE, Beauty of Joseon, ANUA, and MEDICUBE — all vetted for the lightweight, barrier-supportive formulations this routine demands. For a fully personalized approach, the custom skincare kit builder lets you select products matched to your skin type and routine goals. Browse, build your kit, and start your 4–6 week mochi skin routine today.
Sources
- How to Get Mochi Skin, According to Dermatologists | Allure
- The Rise of ‘Mochi Skin’ & How to Achieve It Like a Japanese Beauty Ex – Jbeauty Skincare
- Mochi Skin –


